
Vector Import
CSV Editor is able to import vector data from .shp (ESRI shapefile) and .xyz formats. Raster data is generated from the imported points via a Delaunay triangulation.
Importing vector data
Section titled “Importing vector data”Click Import vector file and choose a .shp (ESRI shapefile) or .xyz (text XYZ points) file. The points are triangulated and sampled onto a regular grid, which then appears in the editor for range selection and export like any raster. Import and triangulation may take some time, depending on the number of input points.
Shapefile Import
Section titled “Shapefile Import”A shapefile consists of several files. The .shp file (the shapes themselves) and its .shx index must be present with the same name in the same directory. On opening, a dialog asks which numeric field of the accompanying .dbf attribute table holds the height or depth of each shape; choose (Use geometry Z) instead if the shapes carry their elevation in the geometry itself. Each shape is treated as a contour: all its points are given that height.
XYZ Import
Section titled “XYZ Import”XYZ is a commonly used format, despite not being well defined. CSV Editor expects three numeric columns giving X location, Y location and depth or height, all in metres, with no header rows.
An example file viewed in a spreadsheet program is shown below:
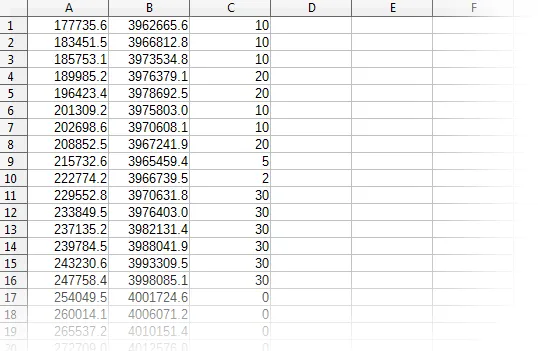
Image 1: This image shows an example of an XYZ file viewed in a spreadsheet program.
Here is the same file in a text editor:
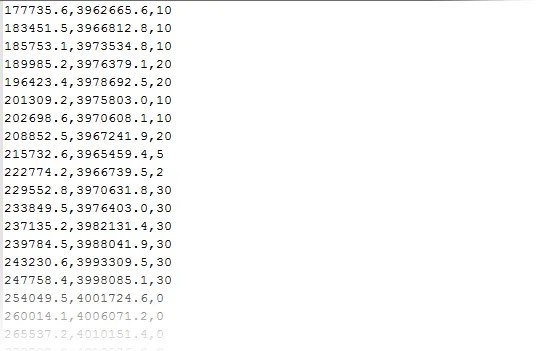
Image 2: This image shows the same XYZ file viewed in a text editor.